

Creating your own font can be a rewarding and fun endeavor for graphic designers, typographers, or anyone passionate about typography. Whether you want to personalize your designs or explore the creative possibilities of custom fonts, this guide will walk you through the entire process, making it simple and accessible for beginners. We’ll cover the basics, tools, techniques, and steps to help you design your very own font with ease.
Before diving into the creation process, it’s essential to understand the basics of typography and what constitutes a font. A font is a set of characters, such as letters, numbers, and symbols, that share a consistent style and appearance. These elements work together to create a visual language that conveys meaning and tone in design.
When creating your font, it’s important to maintain consistency in the design of each glyph. Each letter should have a similar visual weight, height, and width to create a harmonious font. This ensures that the text flows well and appears professional.
Creating a font from scratch requires specialized software and tools. Fortunately, there are several user-friendly options available that cater to beginners and experienced designers alike. Below are some of the most popular font creation tools:
FontForge is an open-source font editor that allows you to create, edit, and convert fonts. It supports both TrueType and OpenType fonts and offers a wide range of features. While the interface can be intimidating at first, there are plenty of tutorials available online to help you get started.
Glyphs is a popular font creation tool for Mac users. It provides an intuitive interface and a variety of pre-made templates to help you design your font quickly. It’s perfect for both beginners and experienced designers looking for a smooth and streamlined process.
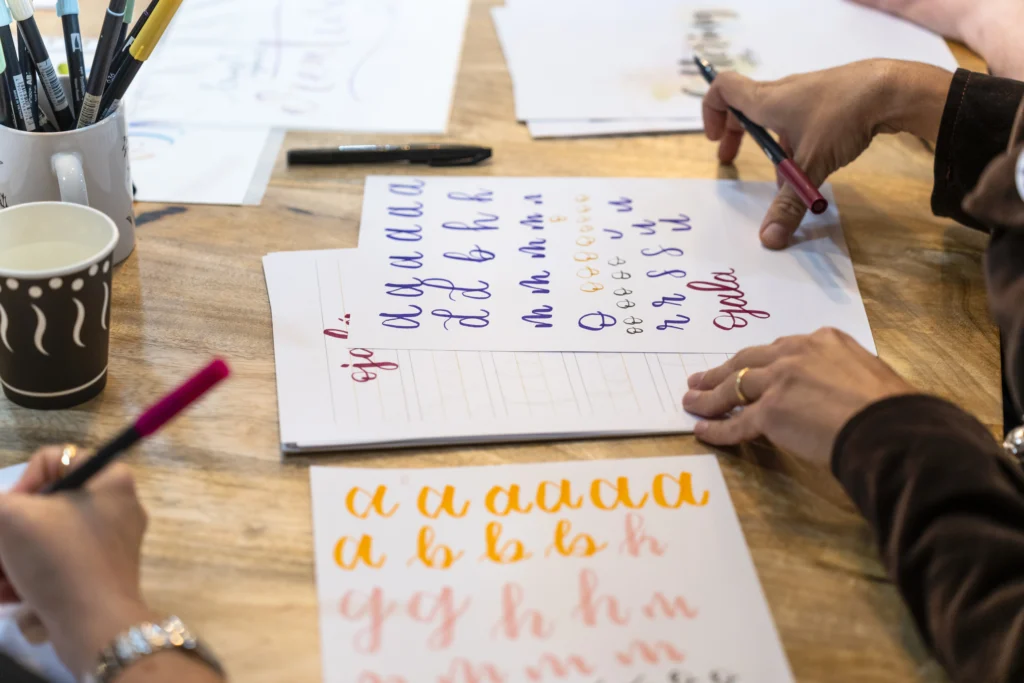
If you want to create a font from your handwriting, Calligraphr is an excellent tool to try. Simply print out a template, write the characters by hand, scan the sheet, and upload it to Calligraphr. The tool will convert your handwriting into a font that you can download and use in your design projects.
FontLab is a professional font creation software with advanced features for experienced typographers. It offers powerful tools for designing and fine-tuning fonts, including precise control over curves, spacing, and kerning.
Now that you understand the basics and have chosen your tools, let’s dive into the step-by-step process of creating your own font. Follow these easy steps, and you’ll be on your way to crafting a beautiful custom typeface.
The first step in creating a font is to define the concept and purpose of your typeface. Ask yourself questions such as:
Once you have a clear concept, start sketching out the characters for your font. You can do this on paper or digitally. If you’re drawing by hand, make sure to scan your sketches later. Focus on designing key characters like ‘A’, ‘H’, ‘O’, and ‘a’ as they will set the tone for the rest of the letters. This is a crucial stage where your font starts to take shape.
After you’ve sketched the main characters, move on to designing the remaining glyphs, such as numbers, punctuation marks, and special characters. Don’t forget to consider the spacing and proportions between characters to ensure consistency across the entire font.
Once you’re happy with your hand-drawn sketches, it’s time to digitize them. Use your chosen font creation software to trace your sketches and create vector versions of your glyphs. Many programs offer tools that allow you to import your scanned sketches and convert them into editable paths, which you can adjust and refine.
After digitizing the sketches, you’ll need to refine the shapes and adjust the curves, weight, and proportions of each glyph. Ensure that the spacing between characters (kerning) is consistent and balanced. You can also experiment with different weights or styles, such as bold or italic, to add versatility to your font.
Before finalizing your font, it’s essential to test it in various contexts. Try using it in both print and digital settings to see how it performs. Pay attention to readability and legibility, especially at smaller sizes. Make adjustments where necessary to improve the font’s performance across different platforms.
Once you’re satisfied with your design, it’s time to export your font in a usable format such as TrueType (.ttf) or OpenType (.otf). Install your font on your computer or share it with others. You can even offer it for download on platforms like Google Fonts or MyFonts if you want to make it available to the public.
Many designers have successfully created their own custom fonts, enhancing their design work with unique, original typefaces. Let’s take a look at some examples:
Designed by Christian Robertson, Roboto is a sans-serif typeface that was created specifically for use on Android devices. Roboto is known for its clean lines, geometric structure, and legibility. Its success has made it one of the most widely used fonts in modern design, demonstrating the impact a custom font can have when created with purpose.
In 2008, The New York Times introduced a custom font called ‘NYT Imperial,’ designed to reflect the prestigious and authoritative nature of the publication. This typeface is now synonymous with the brand and enhances the paper’s identity in the digital age. It shows how a custom font can reinforce the overall brand identity of a company.
Creating your own font is an exciting and fulfilling process that allows you to express your creativity while adding a personal touch to your design work. By understanding the basics of typography, using the right tools, and following the step-by-step process, you can craft a unique font that enhances your projects and sets you apart from the crowd. Whether you’re designing for personal projects or professional clients, a custom font can elevate your designs and showcase your skills as a designer.
Remember, creating a font takes time, patience, and attention to detail. Don’t be discouraged if your first font isn’t perfect—practice makes perfect! Keep experimenting, testing, and refining your designs to build a collection of fonts that reflect your unique style.
The time it takes to create a font can vary greatly depending on the complexity of the design and your level of experience. For beginners, creating a simple font could take anywhere from a few days to a few weeks, while professional designers may take months to perfect their fonts.
Yes, you can sell your custom font! Platforms like MyFonts, Creative Market, and Fontspring allow designers to upload and sell their fonts. Before selling, make sure to check licensing requirements and ensure your font is polished and professional.
